List widgets are available on displays built on the M2 or E2 processor platforms.
If you are using a PV450, PV485, or PV780 then refer to this example article.
Version 4.774 is used for this example configuration.
Download Example Configuration
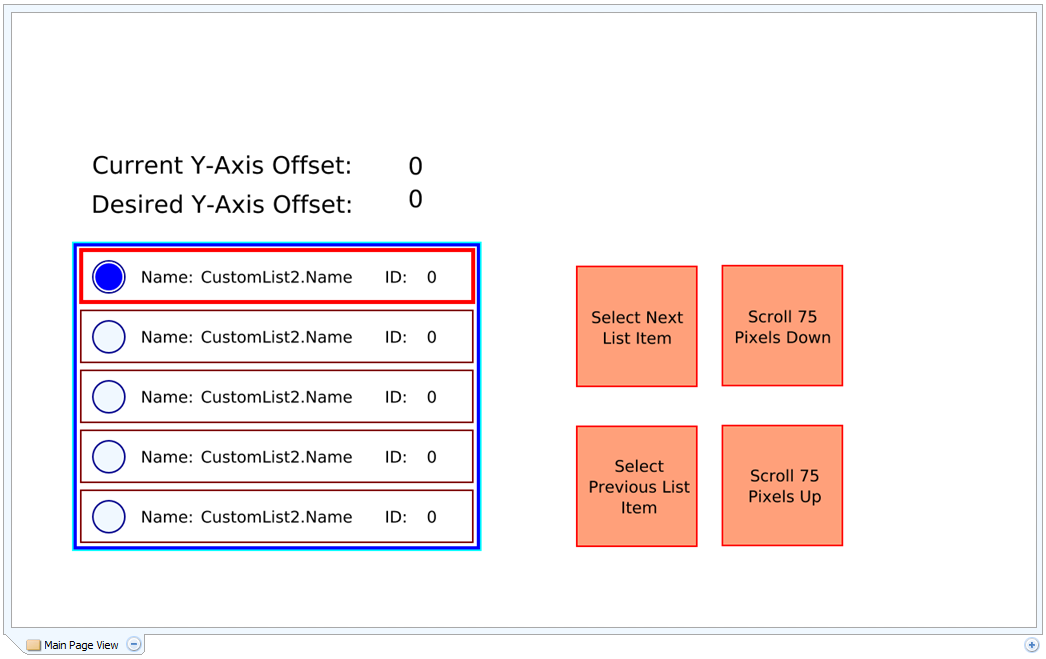
The List widget is the easiest way to display a list (array of data), and one of the only ways to display a dynamic list that can change during runtime. In this example configuration we have created a list that will display a user’s name and ID. At the top of the display you can see ‘Current and Desired Y-Axis Offset’ values which display how far the list has scrolled in pixels. To the right of the list widget you can see buttons to select list items and scroll through the list.
Step 1:
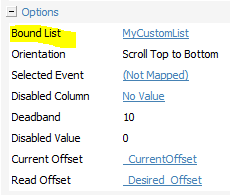
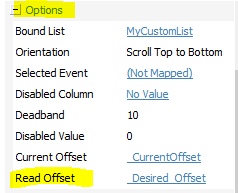
Open up the List Widget properties and find the Options category. Select ‘Bound List’, this is the property that ties the widget to a custom list and must be selected before you can go any farther.
Step 2:
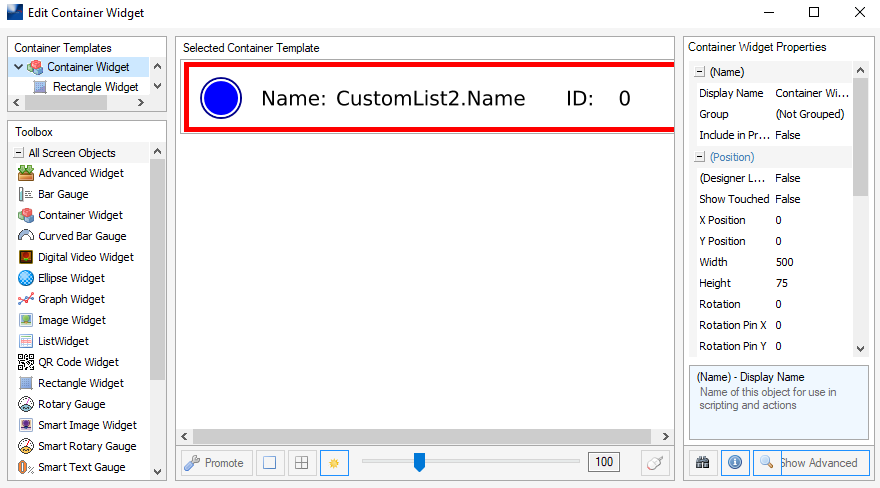
The next large part we want to look at is the ‘Row Configuration’ section. Here you will see two options of importance, Selected and Not Selected Containers. This is where you create the graphical look of the list and what items from the list to display. The "Selected" widget will be displayed at the spot on the list where the currently selected element is located. The "Not Selected" container will fill in for every element that is not currently selected. The widget will automatically display as many rows of the list as it has space to do so in the list window. In this example we have made the widget 500 pixels wide by 375 high, which is enough to fit five rows. Stretch the widget out and see how new rows automatically populate the window.
Step 3:
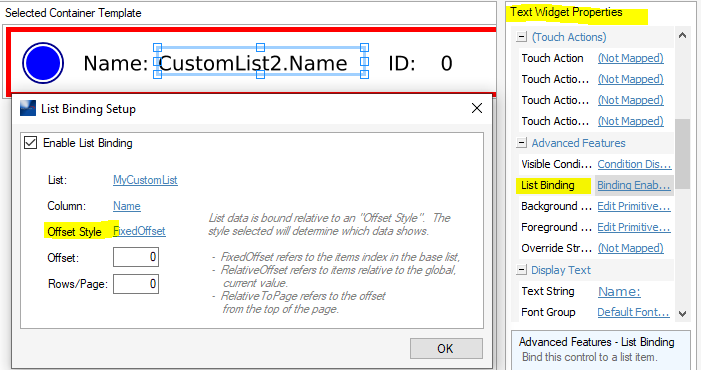
Bind the Text or String widgets used in your Row Configuration using the List Binding property of the widget. Pay close attention to the Offset Style, FixedOffset should be selected.
Step 4:
Assign Actions to navigate through the list using a User Event.
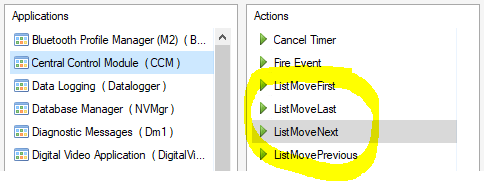
- Selecting a List Item - Use the CCM actions ListMove next, previous, first, or last.
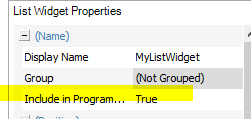
- Scrolling the List - Create a variable and assign it to the Read Offset property of the List Widget. Set the desired position then fire the Screen Action - UpdateScrollPosition to cause the widget to update its Y-Axis Offset. The widget must be named and included in programming.
- The list can also be navigated by swiping up and down with your finger.
Step 5:
There are numerous other settings to control size, position and colors of the widget. Once the framework is complete and functioning as desired then you can go back and set all these options as desired.
Bonus Tip
If you have a list of objects that will run longer than the space available, you can nest them in a List Widget and utilize its scroll feature to swipe up and down to view all the objects. Open the "Selected Container" and add all of the objects in this container along with any touch actions needed to make selections and fire events. Leave the deselected container empty and do not tie the list widget to any Lists. You can now size the list widget to fit the available area then at run time the operator can swipe up/down to view all the content. An example of this would be to build a menu, if you add additional items it will not affect the graphical layout. This now becomes a scalable solution.
Comments
0 comments
Please sign in to leave a comment.